See me throwing a Colorado Boomerangs "Condor Comp." (2005Nov26)
(this boomerang sadly, is now lost in an oak tree in the park next to my home.)
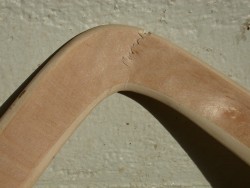 And this is my first boomerang 8 days later.
As you can see, this boomerang has a crack
at the elbow from hitting the ground too hard on launch. Whoops.
 | |
| 19 Oct 2003 - Broken Ted Bailey MTA |
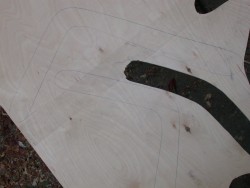 The first step is to transfer the pattern from a cardboard blank
onto the sheet of plywood. I downloaded all the patterns for boomerangs
used on this page from the French site, Boomerang Passion. Here, I've laid out two right-hand boomerangs.
(yes, lefties have to have their own boomerangs, since these things have airfoils).
 | |
| 19 Oct 2003 - Boomerang Layout on 5mm Plywood |
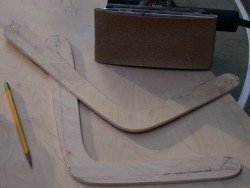 The next step is to rough out the airfoils. I use 60 grit sandpaper on an electric
sander..
 | |
| 19 Oct 2003 - Ready For Airfoil |
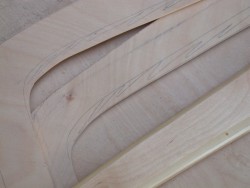 Using my first boomerang as a template, I draw out what will be cut away..
 | |
| 19 Oct 2003 - Airfoil Detail |
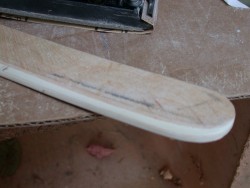 And this is what it looks like after roughing with the power sander..
 | |
| 19 Oct 2003 - Airfoil Detail |
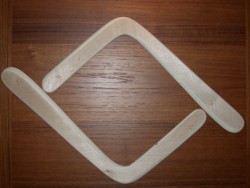 Hand-sanding with 150 and then 220 grit sandpaper follows the rough sanding.
Here are the sanded, unfinished boomerangs..
 | |
| 19 Oct 2003 - Finished Sanding |
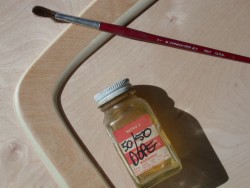 I use 50/50 modelling dope as a first-coat sealer. This dries quickly and
is sanded down using 220 grit.
 | |
| 19 Oct 2003 - First Finish |
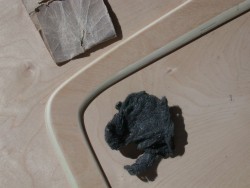 Some 000 steel wool work and the surface is finish-ready.
 | |
| 19 Oct 2003 - Finish Prep |
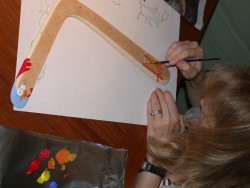 The artist is using acrylics to transfer the pattern she first drew on paper.
 | |
| 19 Oct 2003 - Chicken Stick Artwork |
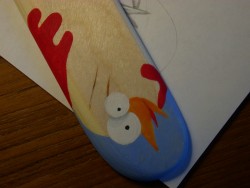 Here's a close-up of the head of the bewildered chicken gracing the "Chicken Stick".
 | |
| 19 Oct 2003 - Chicken Stick Artwork Detail |
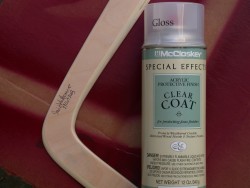 This clear acylic spray finish seems to do a decent job; dries hard after
24 hours or so.
 | |
| 19 Oct 2003 - Clearcoat |
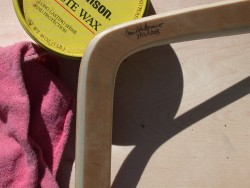 The final touch is to do a final light 000 steel wool sanding and then to
apply paste wax.
 | |
| 19 Oct 2003 - Waxing |
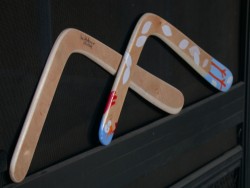 Two "Ted Bailey MTA" Boomerangs.
 | |
| 19 Oct 2003 - The Outcome |
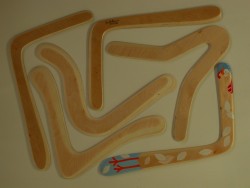 And here's the full collection to-date. Fun, fun, fun.
You're free to go, now. Thanks for looking.
 | |
| 10 Nov 2003 - The Collection to-date |
Looks beautiful! Just asking, is 5 grams too light for an MTA boomerang? Also, if it's too light, how do I add weights (coins) on it such that it balances well and is able to fly without spinning in an out-of-control fashion?
I just found this! Who knew! Very cool, but your Mom's comments were my favorite. Shows that Wittemore competitiveness and also a pinch of "do that outside!" Lose an eye! Fantastic.
it sees that your photos was all interesting...
Godbless there
hello there, i was searching for some adjectives and it came to my surprise that i found your some photos and i amaze on it..it catches my attention!!!
Hi I found your boomerang photos while searching on Google. Nice work. I run a group on yahoo about boomerangs and would love to have you join and share your building techniques. Already have 10 or 12 David's on the list, but there's room for more. Check us out at:
http://sports.groups.yahoo.com/group/BoomerangTalk
Dave Hendricks, List owner, BoomerangTalk
Dewd!
Pretty paintwork! Have you checked out the U.S. Boomerang Association? www.usba.org
Also, there are various Yahoo!Groups about boomerangs, most notably Boomerang Talk. Check us out!
Dave Hughes
Austin, Texas
Fantastic. Beautiful work, as usual. Wonder how they would have placed in 4-H. Where do you find the room to fly? 20 seconds eh. Are you trying for 60? I do like the chicken. One of them looks like a good candidate for a camel design.
Curious as to where you do all this sanding. Hope it is outdoors, down wind. Remember the clogged window screens upstairs?